I imported the character to Blender to create some renders to show case the 3D model.


I also created a turntable animation to show case the model from all angles.
I imported the character to Blender to create some renders to show case the 3D model.
I also created a turntable animation to show case the model from all angles.
After the modelling, sculpting and texturing were done, the character was ready to be imported into Unity.
I imported the base model along with the 4 texture maps (Base color, Normal, Roughness and Ambient Occlusion) into unity and created a prefab of the turtle in order to move it easily into the main project.

Since the polycount is important when it comes to games I made sure that the model for the turtle doesn’t exceed 7000 tris, because as I know from my experience using SpeedTree:

I tried to rig the base model of the turtle, but I ended up with this problem. I kept trying to fix it via skinning but it took me a while and in the end the problem persisted.

I later understood that this is because I didn’t have the entire skeleton but some bones thrown around in the model and this is not the correct workflow. I should follow a reference, mainly that of a turtle’s real skeleton, and create the rig based on that. I should not include every little bone in the real skeleton but the rig should be simpler version of it.

I plan to use the above reference to correctly rig the model in the next stage.
I imported the base model along with the normal map into Substance painter and started texturing.
I first created some fill layers for the turtle’s different features, and then using masking I applied the appropriate fill layers to their respective features.


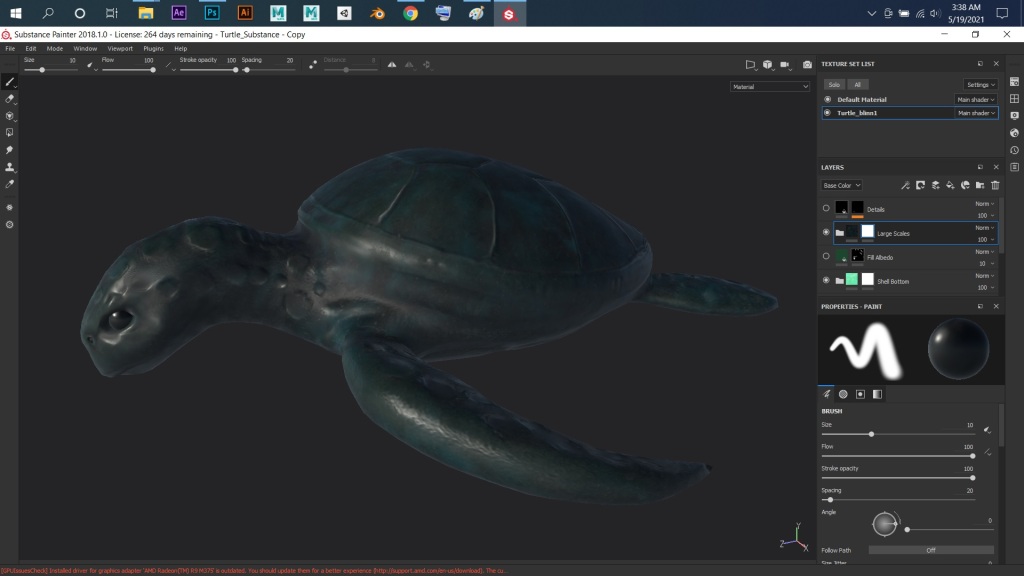
The final result looked like this.

I then exported the texture maps.


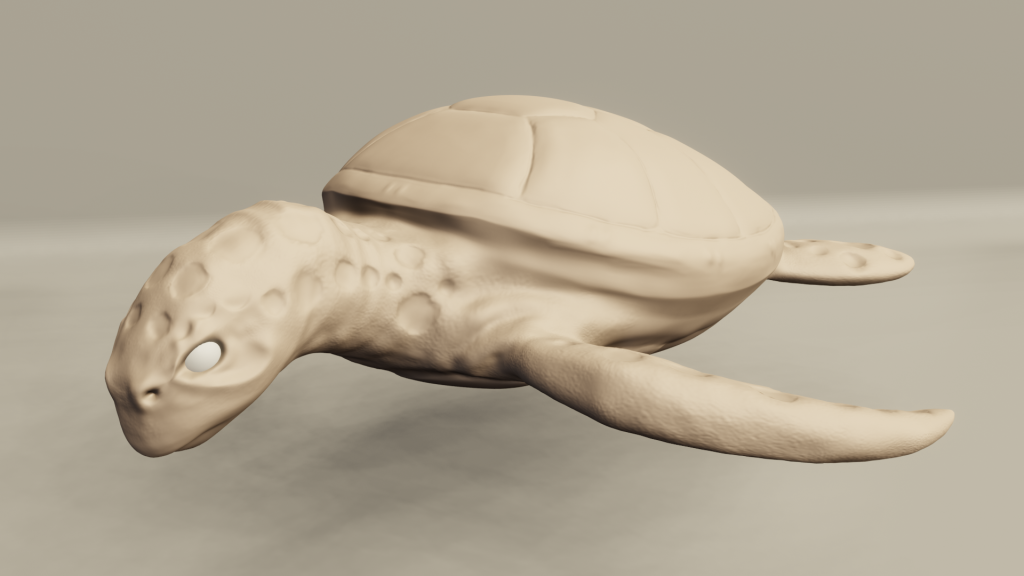
I moved the base model to Mudbox and did some sculpting, and then I exported the sculpted details as a normal map to apply it to the base model so I can achieve high details with a low poly count.


I started off with a base mesh from Maya’s content browser. The base mesh had the shape of a real-life sea turtle, but since mine is slightly stylized I had to do some tweaks to it.

I used the concept art I created for reference.

This was the final result of the modelling phase.

I also did the UV unwrapping as well.


